Fixing the Flashers in a Skoolie
It is the little things that can get you in trouble.
Not everything worked in our 1995 Thomas school bus when we got it. But enough was working correctly to get her on the road fairly quickly. There were a few things that when fixed would make it safer, and not to mention much more enjoyable to drive.
The first thing we tested when we got the bus was the lights. The headlights (high and low beam), parking lights, running lights, marker lights and blinkers all worked fine. On the outside they worked, but the dash was another subject.
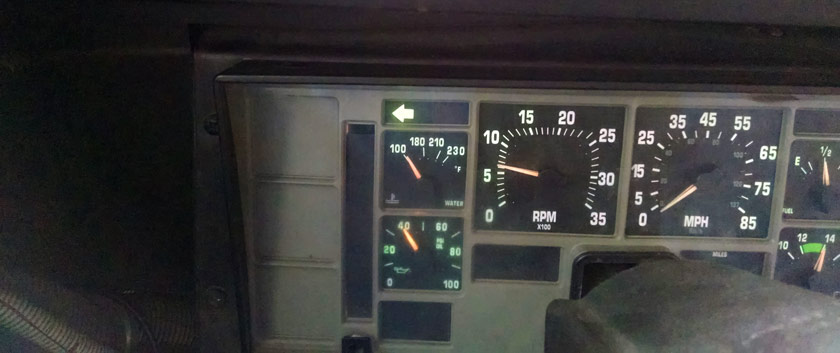
All the important things on the dash worked fine. What didn’t work was the back-lights. At night the left side of the dash was dark. The left-side blinker indicator on the dash was also on the fritz.
When driving during the day (or at night) I would use the round mirror on the nose to see if my blinkers were on. It was the only way to tell if the left blinker was working. With the blinkers running the normal “ticking” noise was almost impossible to hear.
We drove it like this for a good 2000 miles. Then the blinkers started acting very strangely. Normally blinkers will speed up if one of the lights is blown. However this time our blinkers were flashing so fast I was afraid they were going to cause people seizures. But all the bulbs were flashing, no burned out lights.
Flashers Must Be Fixed
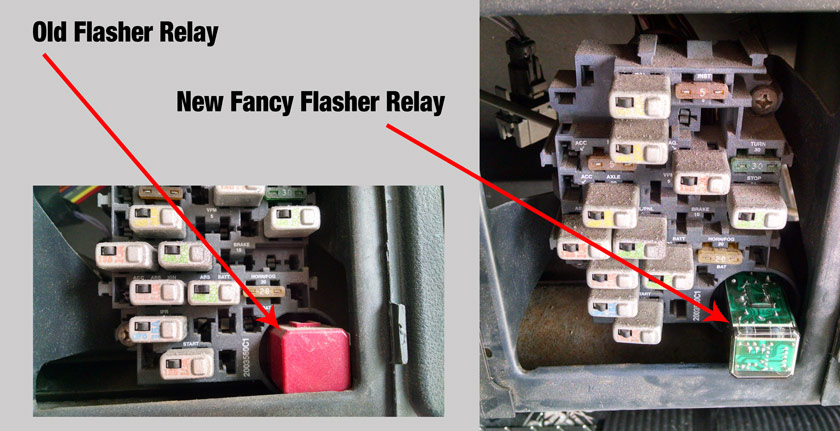
After doing some digging we figured it was the flasher relay. Luckily this relay is located in the main fuse panel on the dash. The original flasher relay was round. These relays burned out quickly and they were replaced with a square relay. So that leaves us with a square peg in a round hole.
Our bus had a square relay so it was not original. The U.S. Navy (the last owner) had replaced the relay with a really cheap unit. The local International truck dealer hooked us up with a new, larger, louder, stronger flasher relay. That got the blinkers flashing at a normal speed, and I could now hear the clicking sound of the indicators.
Fixing the Dash Indicator
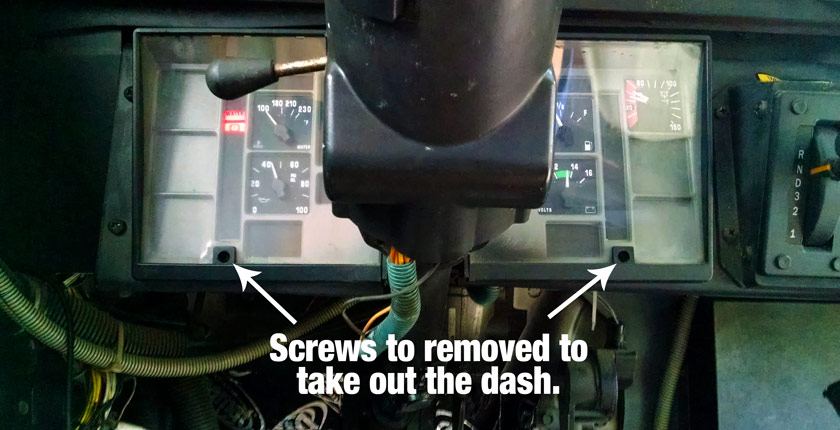
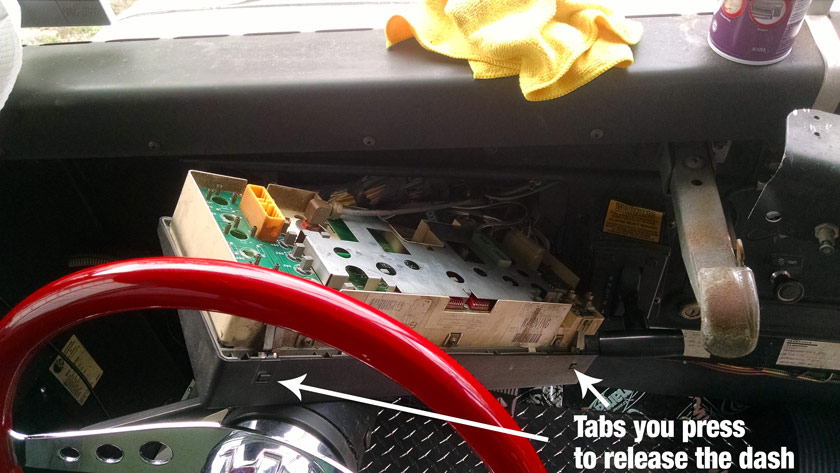
To fix the indicator light on the dash we had to remove the unit. The International 3800 instrument cluster comes out fairly simply. There are two screws located on the bottom of the dash. Remove those and then push two tabs located on the top and the dash will tilt out from the top.
You have to disconnect two electrical connections on the back, one on the left and one on the right. You will also have to disconnect two air connections, if you have air brakes. Make sure you remember where the green air line goes and where the red line goes. The last connection is the oil pressure line, I didn’t disconnect this as I could get to what I needed without totally removing the cluster.
Which Bulbs to Use?
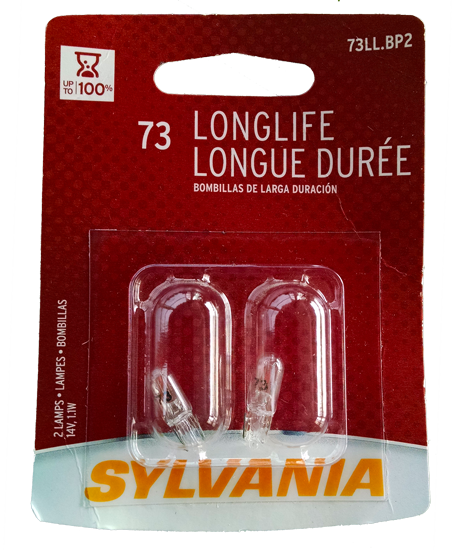
My burned out bulbs didn’t have any markings on them so I had to guess what they were. I found that the Sylvania #73 and the #74 bulbs both worked fine. Removing the bulbs requires you to twist the base, they sound like they are breaking but they came out and went back in fine.
Putting everything back together was not too bad. It was all well worth the effort the first time I turned on the left blinker and could see the indicator on the dash flashing at me. It is the little things that make me happy.
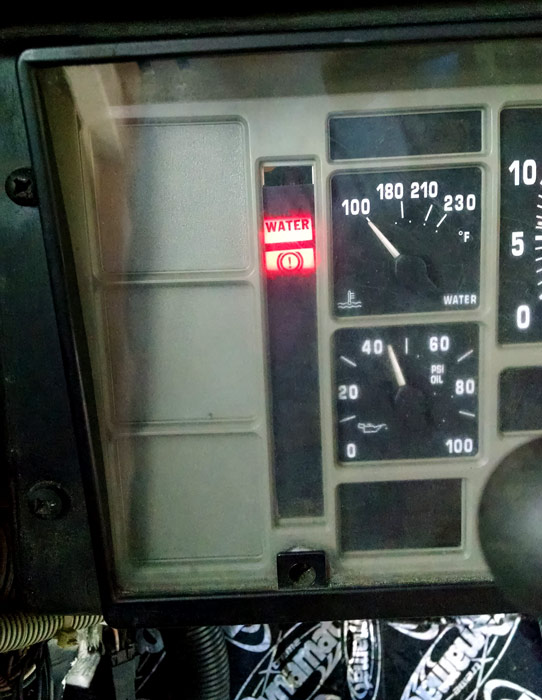
With all things bus related one fix has caused another problem. When the dash was removed the 23 year old glue let go in places. The plastic is brittle and the glue failed in a few spots. On either side of the dash there are indicator and warning lights. The strip of colored plastic with text on it came undone. It was very difficult getting the dash back in with all the parts flopping around and falling out.
We will have to remove the dash a second time and re-glue these panels. Both the left and the right sides have slipped down a quarter inch. Now the text no longer lines up with the indicator bulbs. But that is the way it goes with a Skoolie, fixing one thing can cause two new problems. The project is never truly finished. But that is one reason we love them.
