Missing Emergency Escape Hatch - Part 1
It was a dark and rainy night . . .
From the pictures posted on Govplanet we knew that our bus was missing the rear emergency escape hatch. Now that the bus was finally delivered and in our driveway, it was time to go inside and see just how bad it was. Our journey would begin much like and old scary tale . . . It was a dark and rainy night.
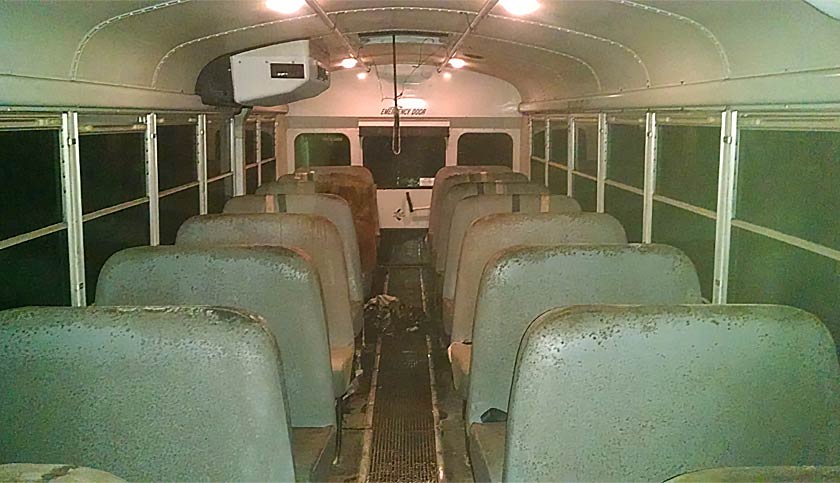
To our amazement the interior lights on the bus worked. So when we entered not only were we hit with the smell of mold but the sight of it too. The seats were covered in it. I was afraid to touch them. That mold was the least of our worries because it was raining and we had a missing roof hatch to deal with.
We had no ideal how long the escape hatch cover had been missing. Half the bus was wet from all the rain. A large piece of plywood and a large trash bag were found in one of the seats under the open roof hatch. It was nice to see that someone made an attempt to plug up the open hatch, not that it would have done any good since they were removed for the drive down, in the rain.
Escape Hatch Action Plan!
Our plan was to cover the escape hatch with a tarp. Lucky for us we had a large 10′ x 20′ tarp that we never used. It took some time but we manage to cover up the hole, and half the bus. That was good enough for now, later we would find a more permanent solution.
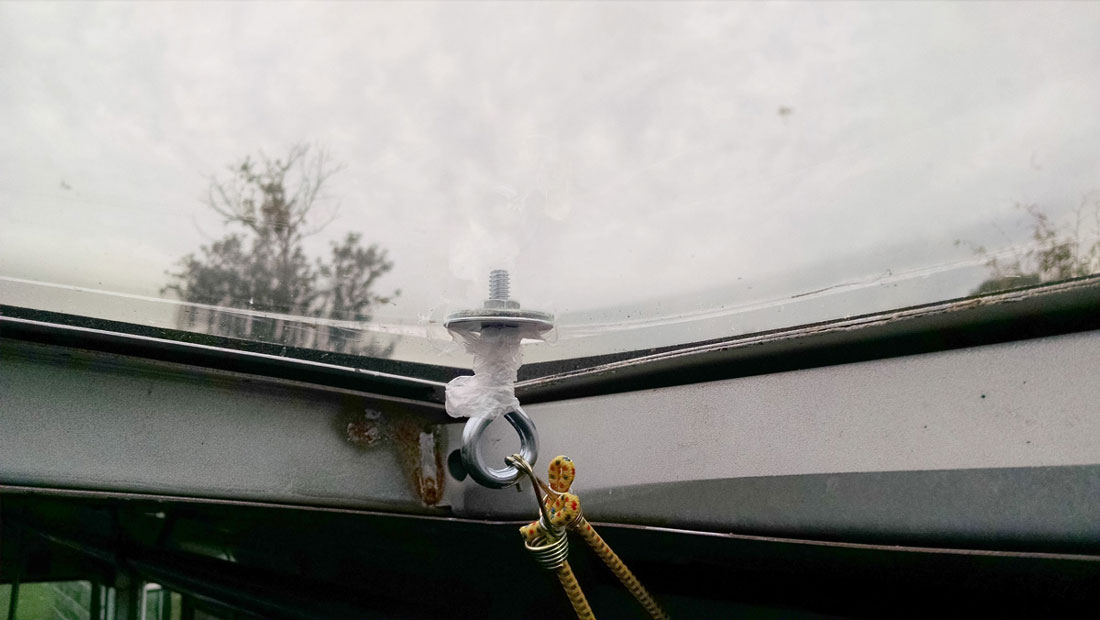
A quick trip to Lowe’s the following morning and we were set. Our list was short. Plexiglass, bungee cords, a weather seal, eye bolts and washers was all we needed. Within a few minutes we had made a roof hatch that was a bit more attractive than a 10′ x 20′ tarp.
Now that the escape hatch was covered and somewhat more weatherproof we were ready to start the next step in our journey. To search the internet for a replacement emergency roof hatch. How difficult could that be??
Very difficult! Especially when that item is made out of Unobtanium and priced accordingly!


