Skoolie Escape Hatch Replacement
Missing Emergency Escape Hatch Part 2!
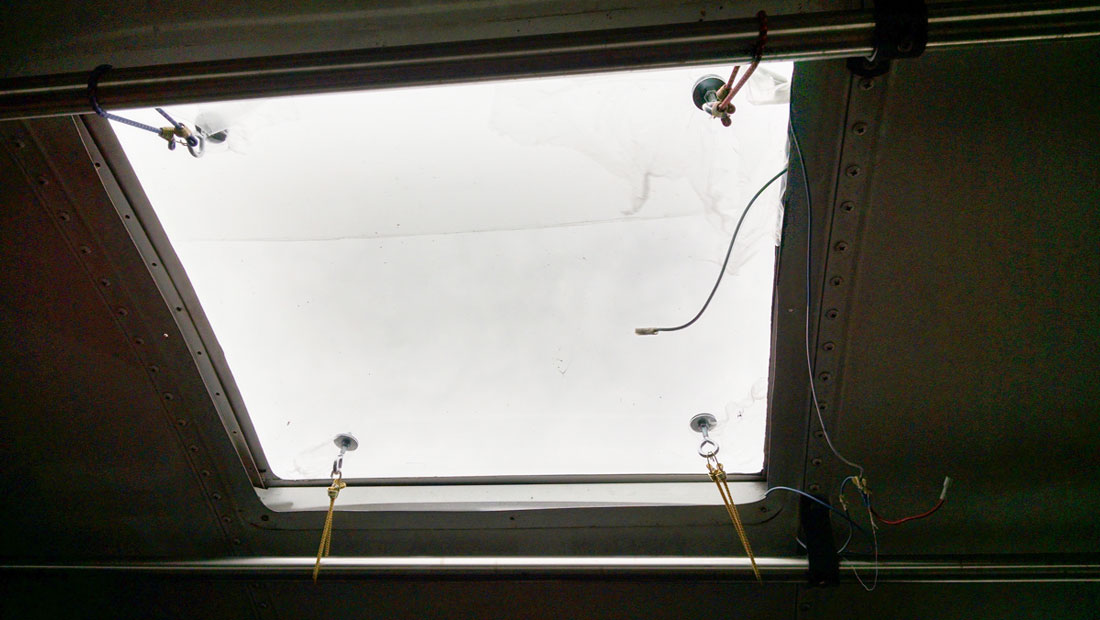
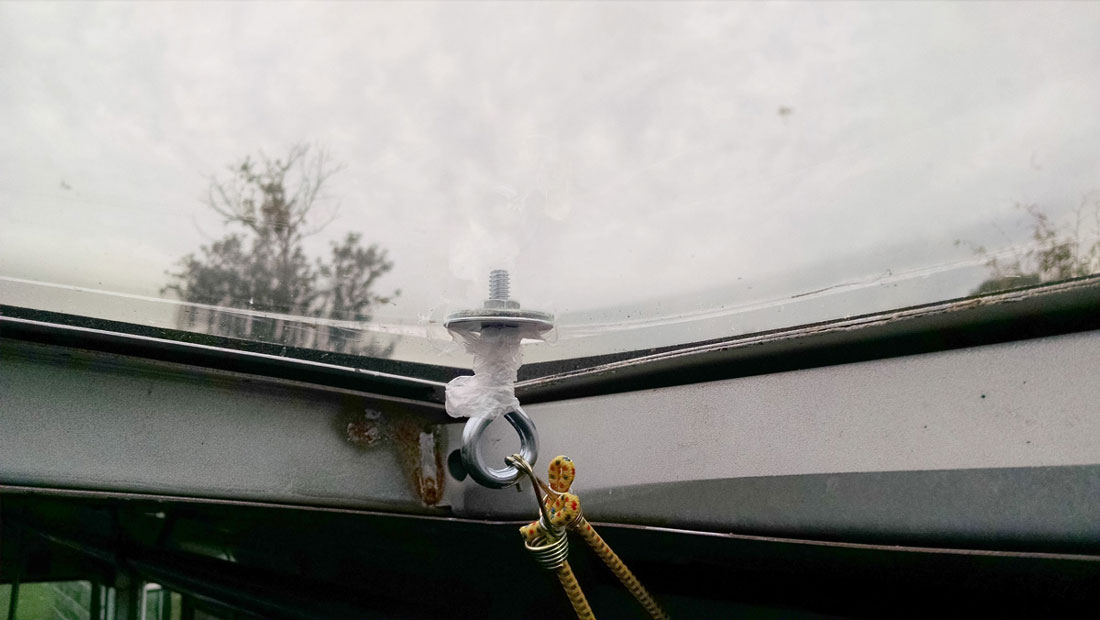
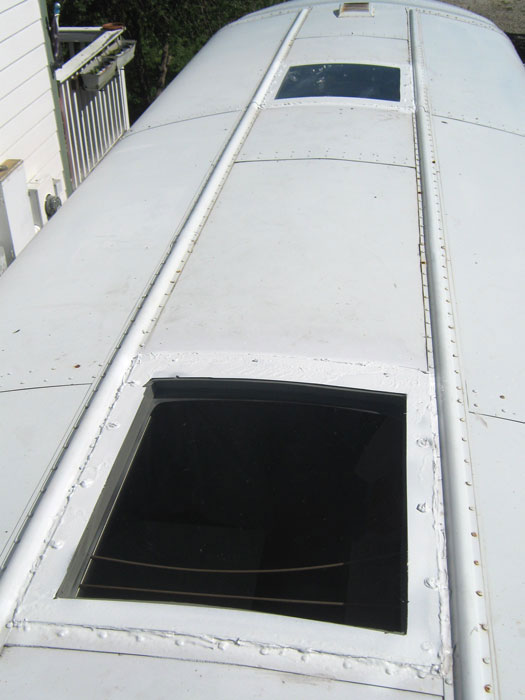
The Skoolie escape hatch story continues. When last we left, the missing escape hatch was not fixed permanently. We had put something together that would keep most of the rain out, but it was far from a permanent fix.
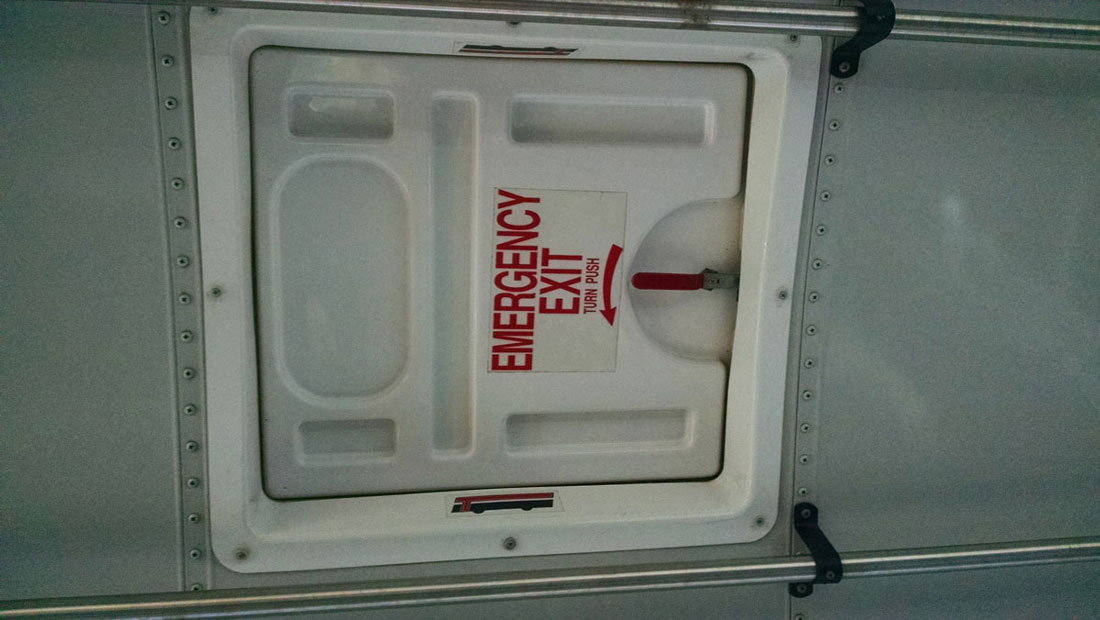
The two issues with fixing the Skoolie escape hatch was the age of the bus, and the use of the bus. The navy was this bus’s original home. As such the bus was equipped with things designed for adults rather than children. This meant seat belts, ceiling hand rails and larger escape hatches.
We searched far and wide for a replacement to the missing escape hatch. We even purchased a used escape hatch from a company called Paul’s Equipment out of Ohio. At the time they sold used school bus parts online. Unfortunately the hatch we got did not fit.
Skoolie Too Old For New Stuff
I was able to get some information directly from Thomas Bus company about our Skoolie escape hatch. What they said was:
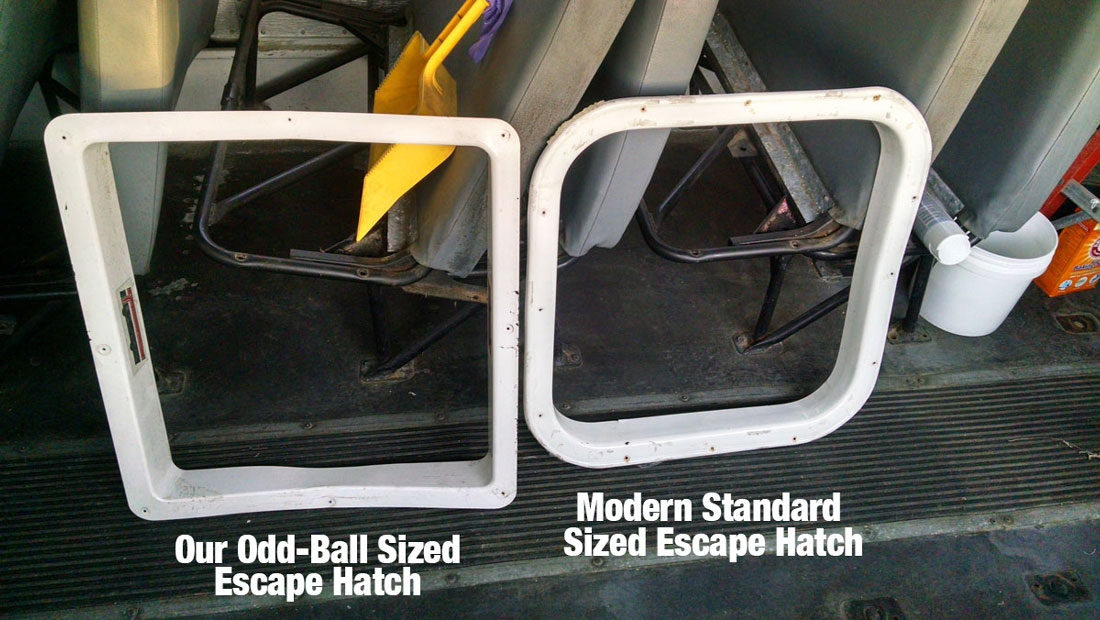
The hatch you had in your vehicle was an Allied roof hatch. They are long out of business. Their measurements were 21 ¾″ X 23 ¾″. The replacement hatches sold by Specialty Manufacturing or Transpec measure 22 ¾″ X 22 ¾″. There is no ready-made part available to retrofit your hole to adapt to the new size.
This was very depressing news. We were hoping to just replace the old escape hatches. We wanted to have them water tight but also give us access to the roof. This apparently was not going to happen. Not easily anyway.
While we had grand ideas of custom hatches, the reality was we had bigger fish to fry. Because of our limited skill set we decided to stick with materials we could work with. At the time we thought we would like to have the light a sky light would give.
Covering Our Holes!
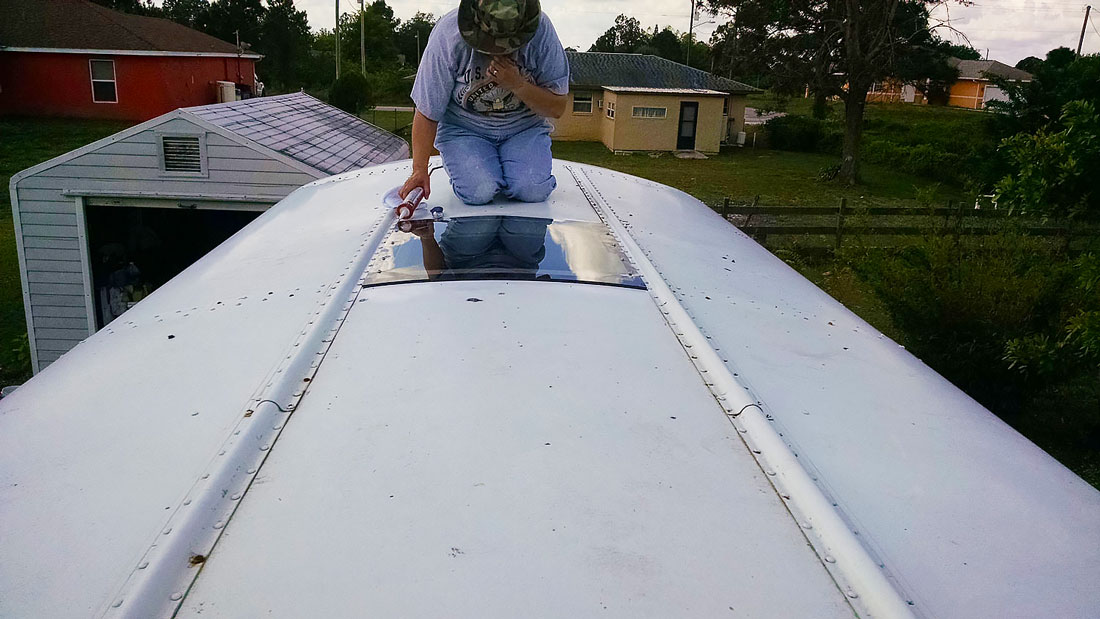
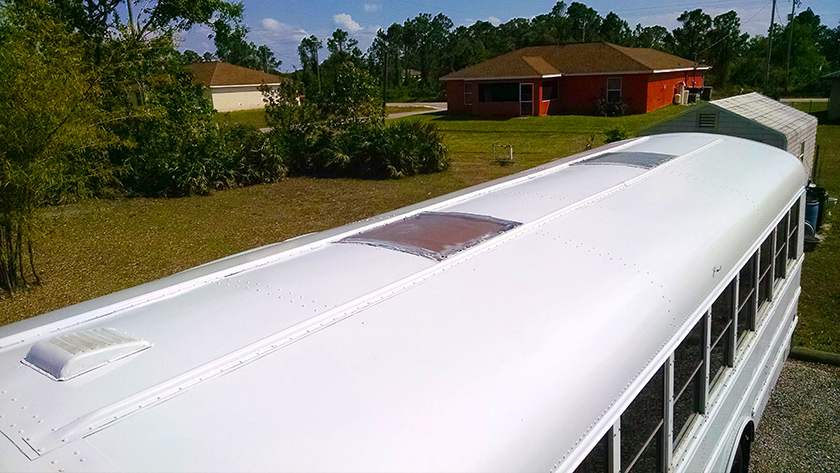
Ultimately we decided to just cover the holes with tinted Lexan. We used 3M VHB double sided tape and screws to hold down the Lexan. With the Lexan being UV resilient, tinted gray, and a quarter inch thick we figured we had this project covered. In fairness to ourselves we were just guessing at most of this stuff. So when most of it didn’t work out so well we were not that surprised.
Lexan has been covering our Skoolie escape hatch openings for a little over 2 years now. We installed them in April of 2016. Aside from some fading and a few cracks it has stood up well. Fading from the sun was expected and the Lexan is still very strong. The cracking was our fault. When drilling holes in Lexan that is curved it is important to angle the drill so the hole is at 90 degrees to the Lexan. Failure to do this will result in stresses that can result in cracks radiating out from the holes.
Too Much of a Good Thing
Having two large sky lights is great, except during the summer in Florida, where we live. To be fair, we did use the sky lights while we were in Georgia. However our camp site was almost totally shaded by trees. For 99.9% of the time we have kept the sky lights blocked!
Leaking has not been a major problem. Although we did have some issues over the years. We tried different caulk and sealant. The 3M tape sticks well but it is not a sealant. After recently painting the roof of our Skoolie we added EternaBond Roof Sealant tape. It remains to be seen how much longer the Lexan will last.
Skoolie Escape Hatch Future
Now that we have completed Phase One of our Skoolie build we can look to making some customizations. What is Phase One? Basically it took the bus from its raw state to a Skoolie we could live in. All the basics are there, sleeping, cooking, showering, pooping, and power.
The plan is to build sturdy metal hatches. Custom designed for the site holes we have. We want to mount things on the roof and have easy access from the inside of the bus. Strength, durability, and water tightness will be the driving forces when we design these new Skoolie Escape Hatches. Make sure you stay tuned and check back to see what we come up with!
